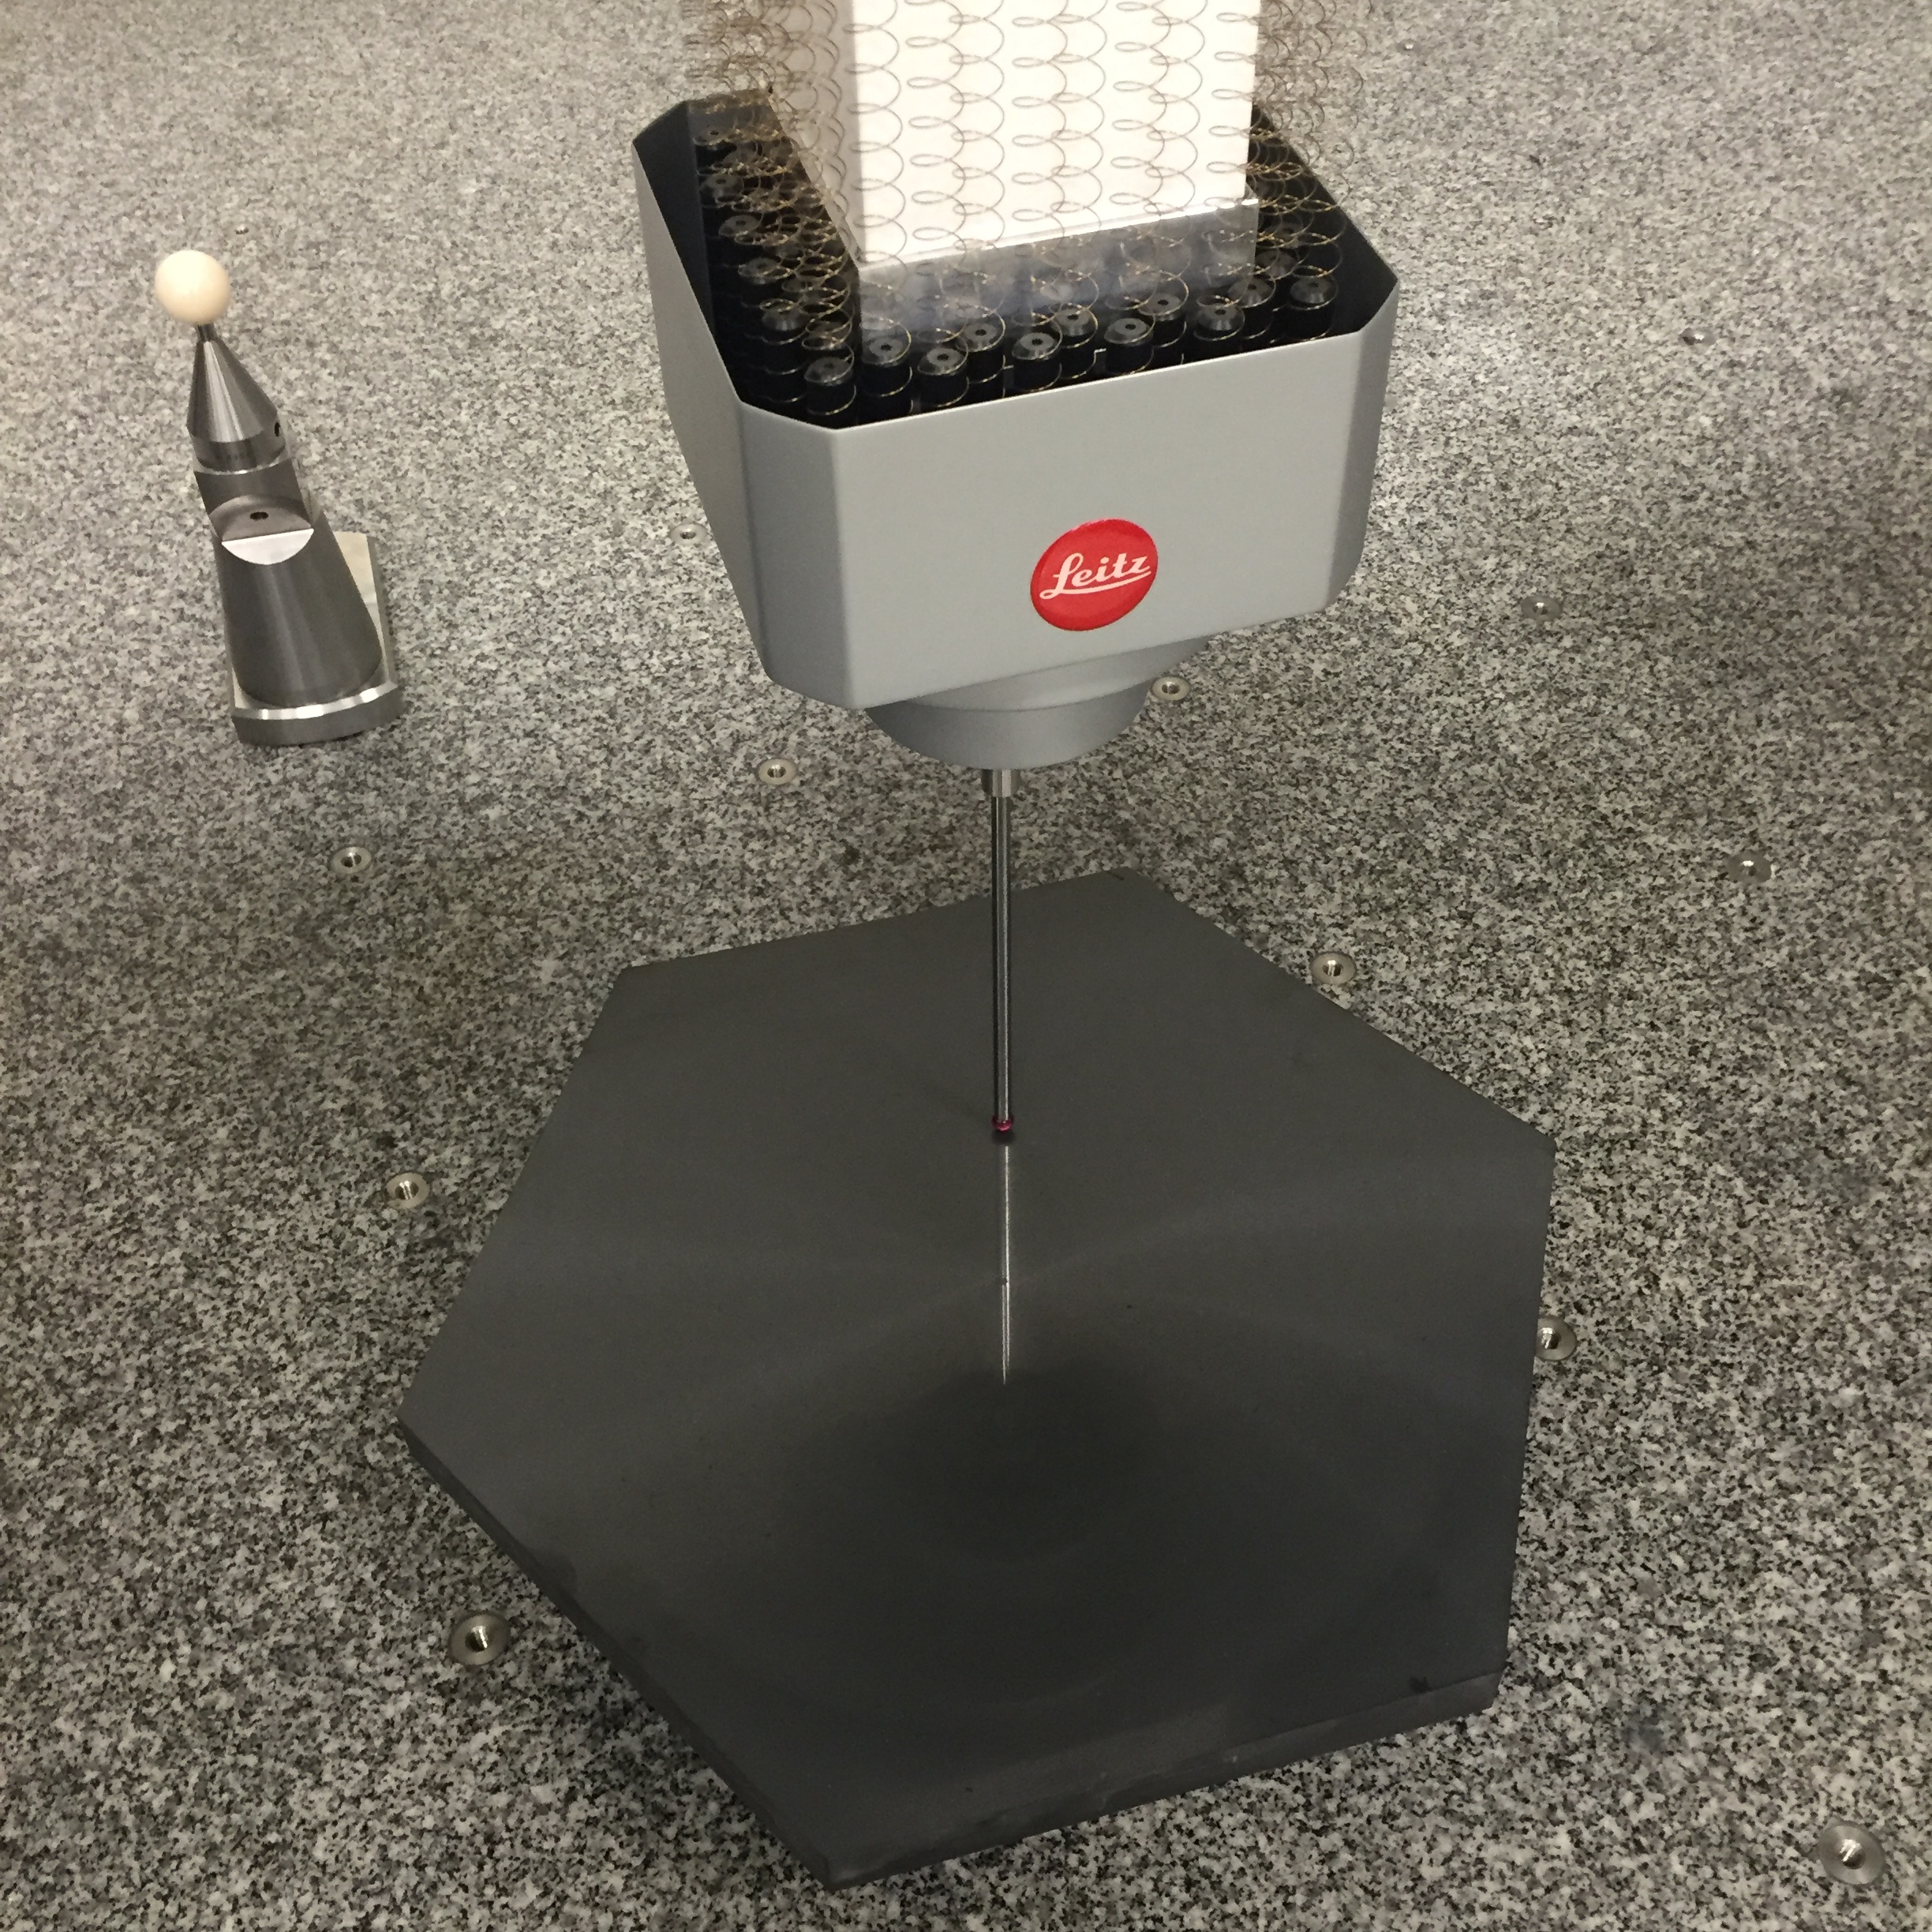
There is no standard method for measuring a metre–scale non-specular freeform surface in the ‘ultra-precise’ measurement regime. This project aims to produce a measurement system to enable ultra-precise measurement of these surfaces. The system involves a number of laser trackers to measure the position of a probe as it moves over a surface to be measured.
StudentSupervisors |
Industrial SponsorHexagon Manufacturing Intelligence |
Project overview
Currently, there is not a standard method for measuring a metre–scale non-specular freeform surface in the ‘ultra-precise’ measurement regime; specifically, surface features in spatial frequency bandwidths lower than surface roughness. It is critical for manufacturing metrology to determine why this is, and produce measurement systems with the required specifications for ultra-precise measurement of these surfaces.
Of the state-of-the-art metre–scale non-specular surface measurement systems, there is not one method that fulfils the requirements of: high measurement accuracy and resolution, high measurement density, high speed, large measurement volume, and low cost. A system design with these characteristics is essential for the low uncertainty measurement, and subsequently, the production of precise components; such as metre–scale optics for the next generation of extremely large telescopes; as well as similarly sized optics for large laser systems.
An important example of metre–scale non-specular surfaces, with complex topologies, that require measurement with low measurement uncertainty are optics for large science projects: such as ground–based and space telescopes for astronomy; as well as high power laser systems for fundamental physics research. At several stages during manufacture these optics require such measurement: despite the non-specular nature of the measurand surfaces.
The current expectation for ultra-precise measurement of surfaces, post-grinding, involves a non-corrective polishing treatment designed to render the optical surface specular and measurable with an optical interferometer at a visible wavelength. This neutral polishing step has no affect upon the surface error in anything other than high spatial frequency bandwidths. Whilst this process enables the use of a highly accurate measurement method, given that the process has no direct effect on the figure error, it could be considered as inefficient; the process of neutral polishing and interferometry is expensive in materials, machining time, and measuring time.
This PhD project will endeavour to determine and implement a method for the measurement metre–scale non-specular freeform surfaces, with uncertainty significantly lower than the current state-of-the- art measurement systems, capable of measuring such surfaces.
A new coordinate measurement system is being developed to measure these surfaces with uncertainty equivalent to standard displacement interferometry. The system utilises a number of laser trackers operated in displacement interferometry mode to determine the coordinates of a stylus moving over a metre-scale surface using a multilateratiion technique.


